 After an extremely long hiatus from this blog, I had an overwhelming urge to reconnect to this little place, and my wonderful readers. I miss you!
On my last post about our wedding, I hinted at a DIY that I wanted to share with you all. I have mentioned on this blog before that I am not a DIY sort of gal by nature, and definitely wanted to avoid anything at our wedding feeling too “I made this in my garage.” But, I think there is a time and place for a DIY done well, particularly when non-DIY options are out of your budget.
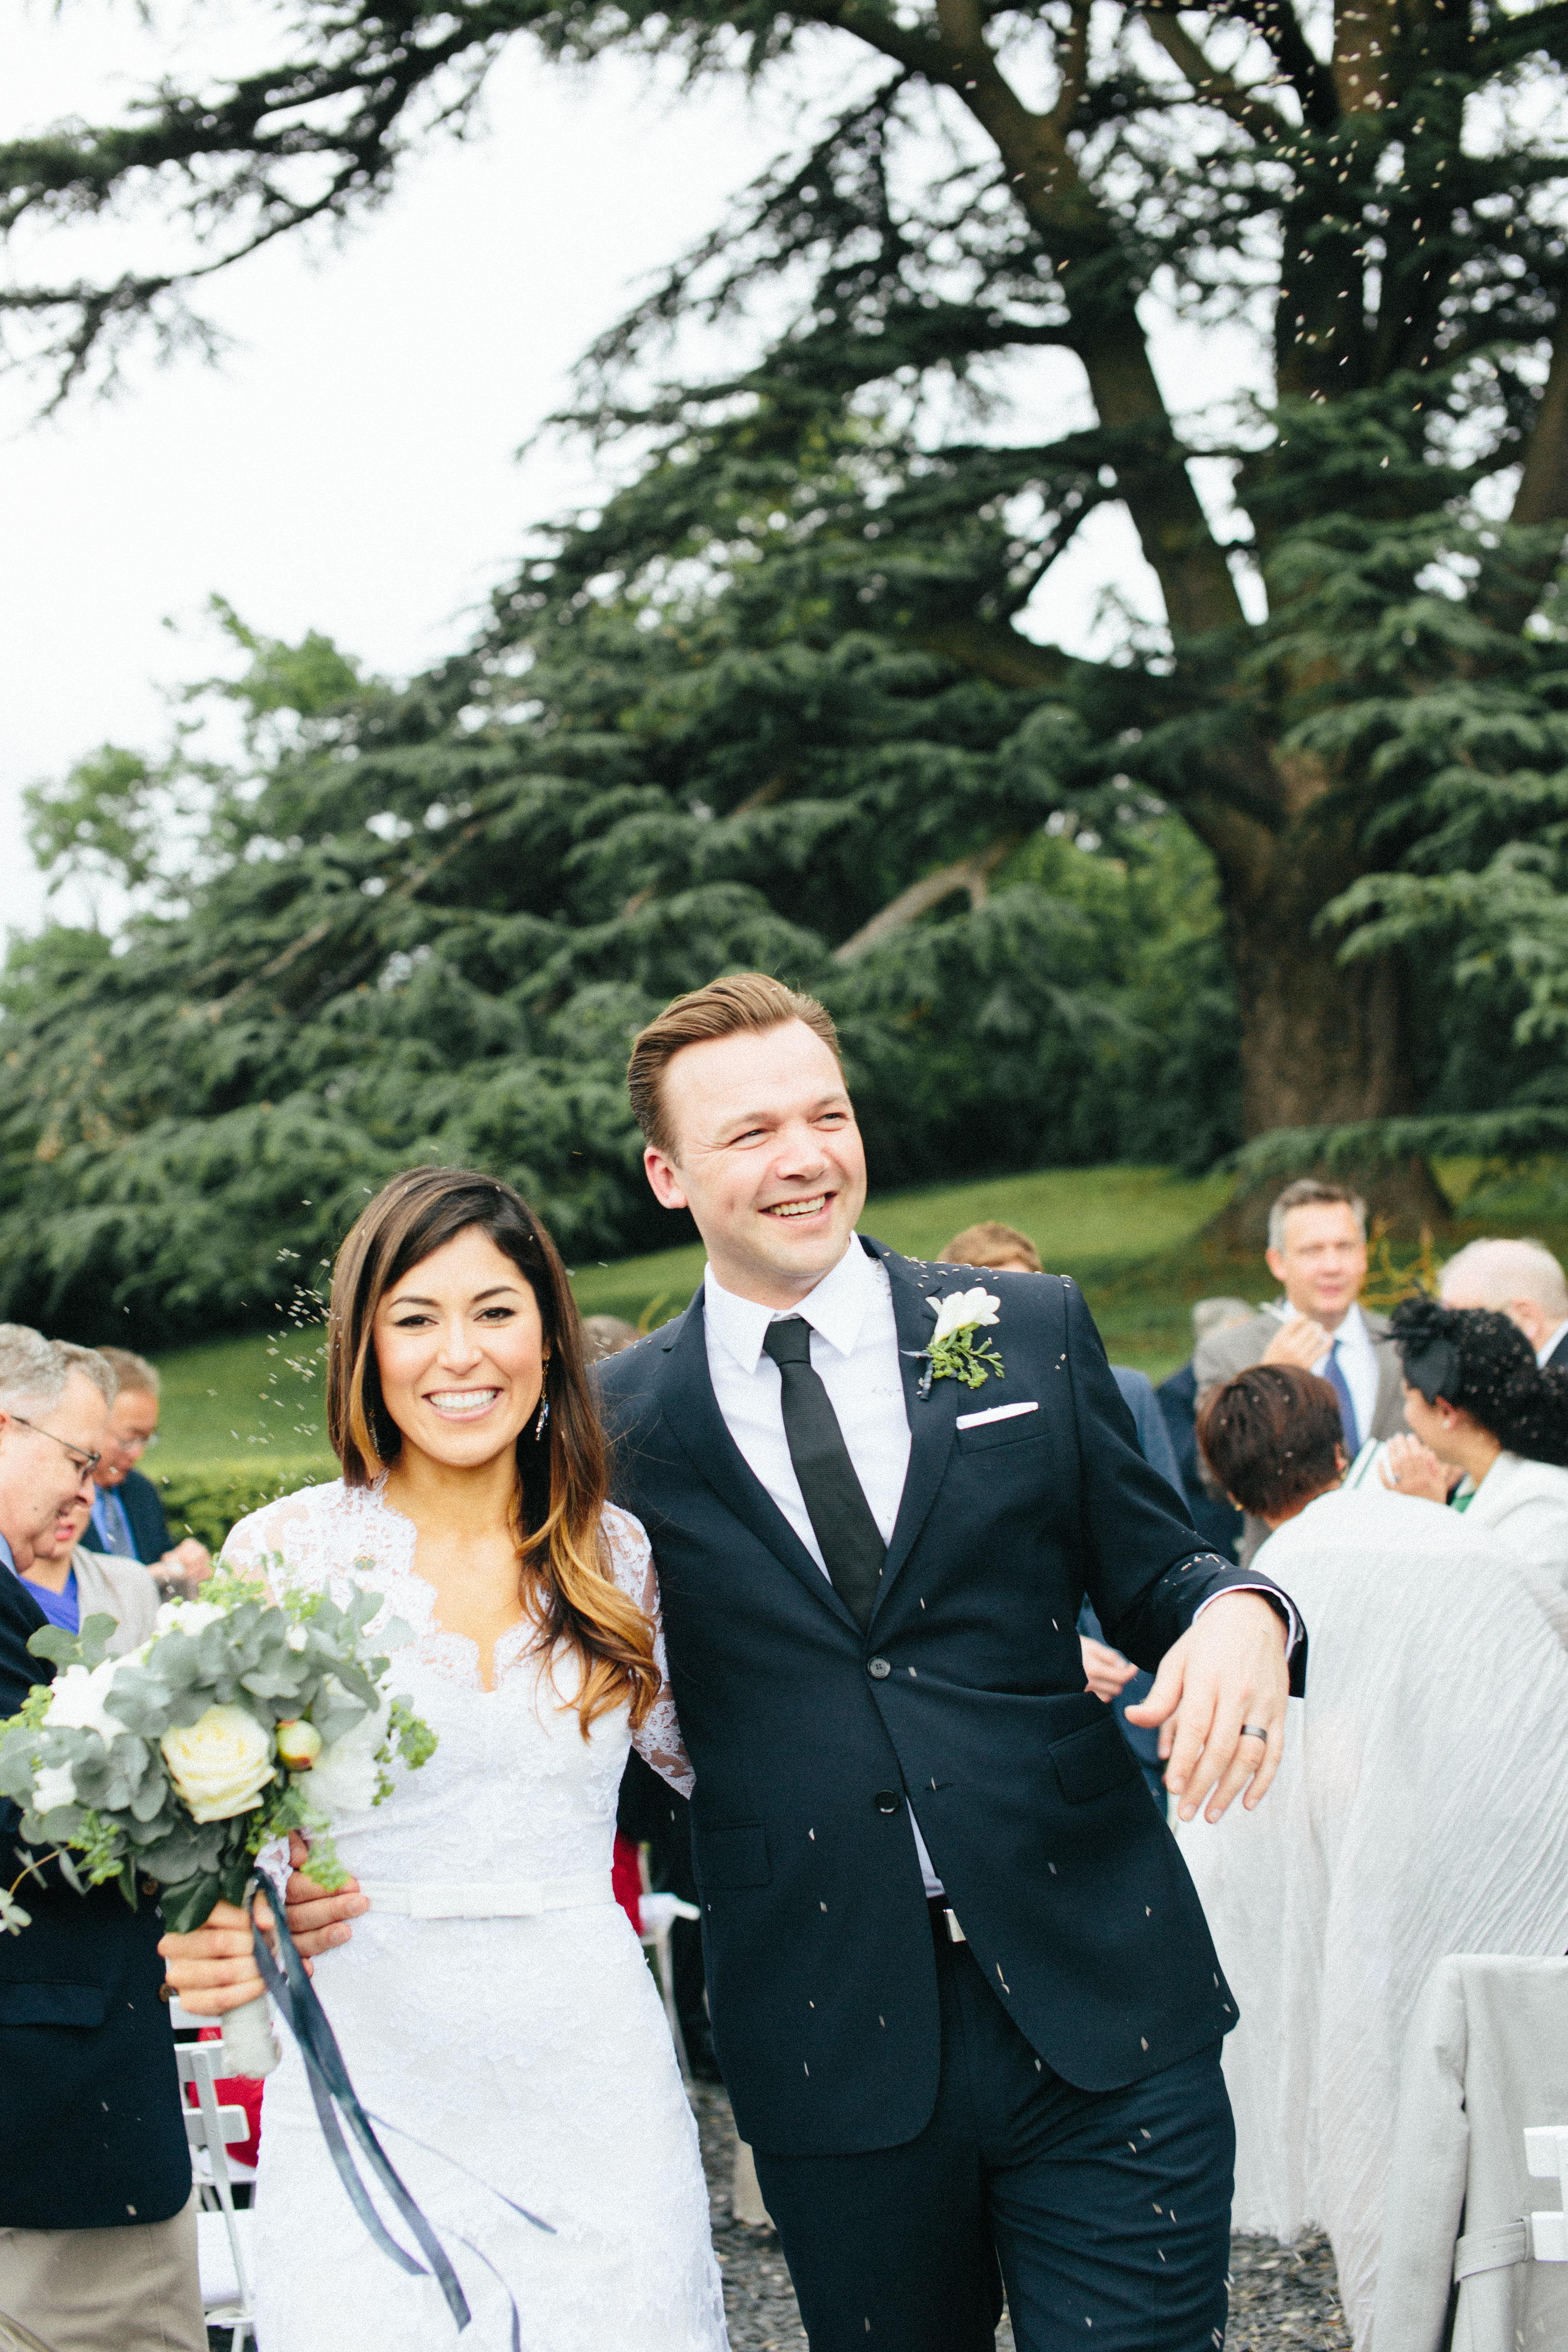
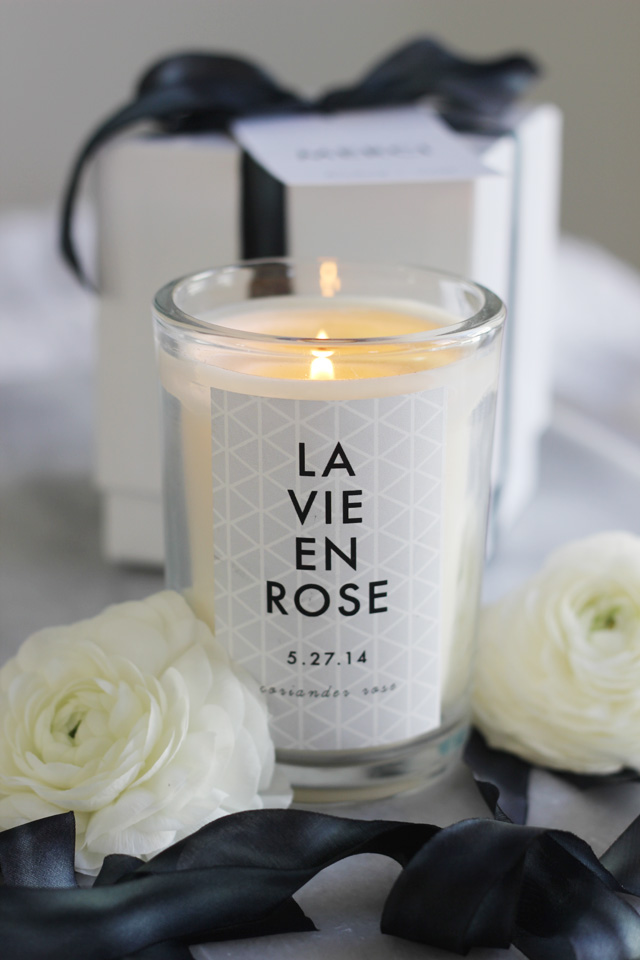
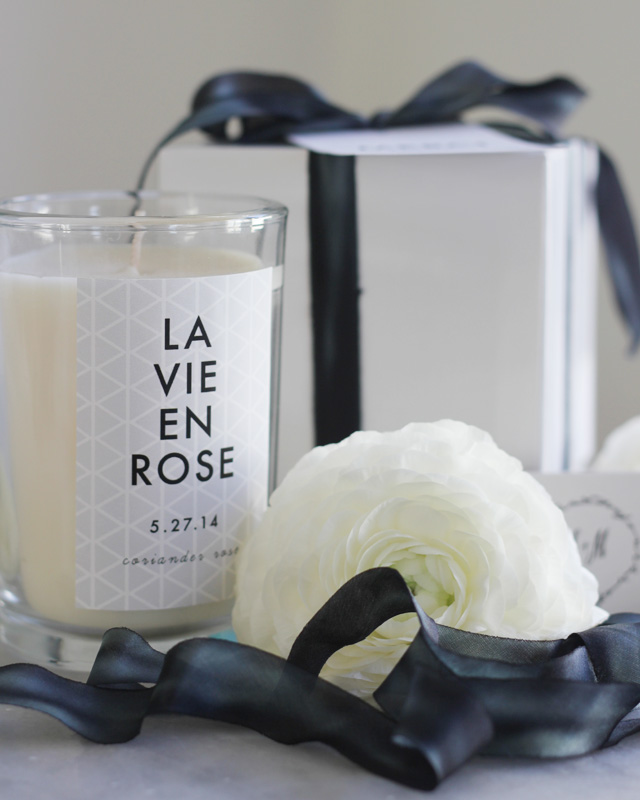
When I was thinking about wedding favors, I immediately thought it would be lovely to give each of our guests a Diptyque candle – it felt so French, so apropos for our destination wedding. However, spending $60 {or even $30 for a travel size candle} per guest was not within our wedding budget. So I set out trying to recreate this candle, putting a personalized spin on it. Granted, hauling 50 candles overseas to France for a destination wedding was probably not the most practical choice {I think my husband questioned my sanity more than a few times}, but I really loved how they turned out and hope our guests did as well.
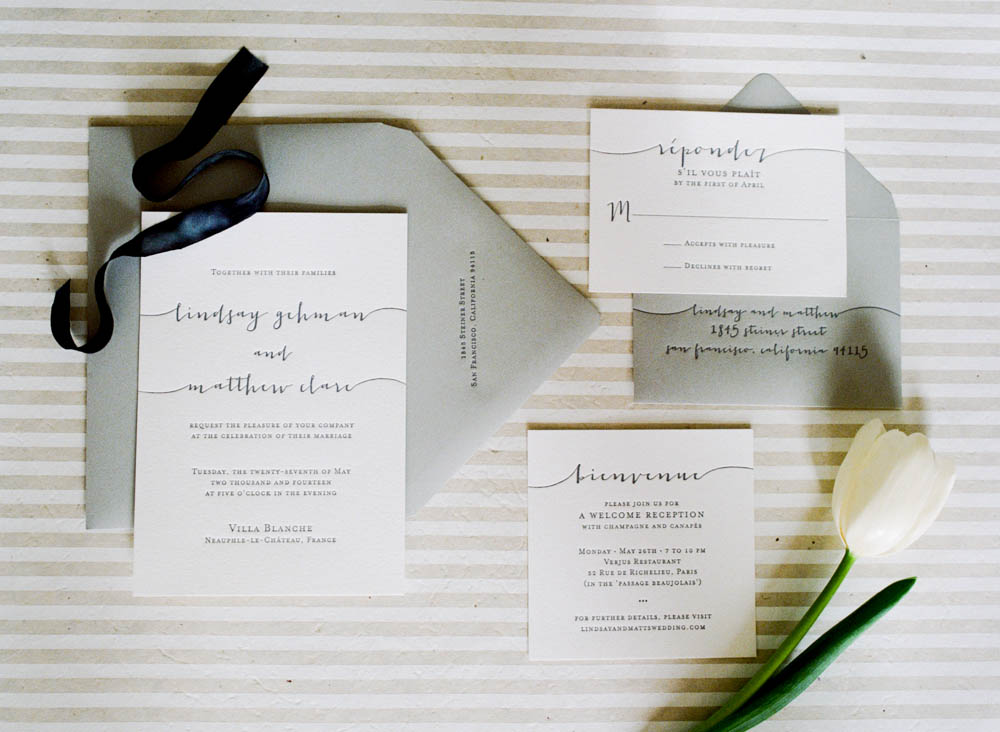
I had never before attempted to make candles, but found the process pretty easy, though time consuming. To achieve the Dyptique feeling, I think it’s key to go for a fairly simple label, in an elegant typeface and a neutral color palette. I used an amazing app called Makr {available on iPads and iPhones}, a great resource for wannabe graphic designers, to design and print the labels and thank you tags. Also, I chose not to dye or color my candles in any way because that can too often look garish. With so many things, I think simplicity is best here. For any brides to be who are in the mood for tackling this DIY, I recommend breaking up the process over a few weekends – one weekend to make the candles and one weekend to package them up. Also, our wedding was small {50 guests} so anyone considering making these for a larger wedding should definitely recruit some help. The best part – instead of spending $60 per candle, I ended up spending around $5 per candle. C’est une bonne affaire!


Here’s what you’ll need:
- Candle wax {I used this soy candle wax}
- Candle wicks {I used these wicks}
- Super glue
- Digital cooking thermometer
- Candle fragrance {I used the coriander rose fragrance from here}
- Candle container {I used these glass candle containers}
- Chopsticks and rubber bands {see Step 3 below}
- Labels {I used the Makr app for the candle labels and the thank you tags I attached to the gift boxes}
- Gift boxes {I used these white boxes}
- Ribbon {I used the dark blue ribbon from here}
- Shred {although you can’t see this in the pictures, I filled each box with this white shred to package the candles}
- Match boxes {I used these}
Here’s what you’ll do:
1. Glue your wicks to the bottom center of each candle container. I used super glue.
2. Melt your wax according to the manufacturer’s instructions. Instead of buying a separate candle making pot, I used a large glass bowl over a simmering pot of water to create my own double boiler. I used a digital cooking thermometer to ensure that the wax achieved the right temperature before removing it from the heat and before adding the fragrance. Follow the fragrance manufacturer’s instructions regarding how much fragrance to add. I erred on the side of adding less fragrance than the manufacturer called for because the worst thing in the world in my opinion is a scented candle that is too potent.
3. Carefully pour the melted wax into each of the containers. To keep the wicks centered in the middle of each candle, I took a pair of chopsticks, tied a small rubber band around each end, placed the chopsticks horizontally over the top of the container, and then pulled the wick through the opening in between the chopsticks. Do all of this before you pour the wax into the candle.
4. Let the candles cool completely. I left mine to cool on my dining room table for a week, although they were ready to go 24 hours later. Place them somewhere that is out of direct sunlight and not too warm.
5. Once the candles are completely cooled, removed the chopsticks {if you used them}, cut the wicks with scissors, if necessary and then label the candles with your label of choice.
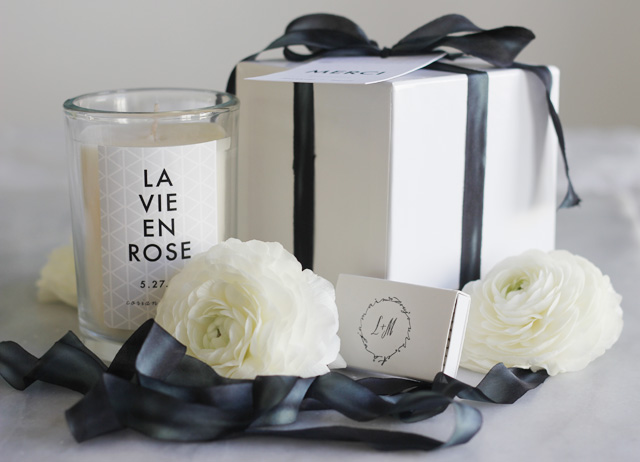
6. Add the shred to each box and then gently place the candle plus a matchbook inside each box. We used a personalized stamp we created for our wedding on the matchbook to add another personal element. Tie a ribbon and the thank you tags {if using} around the box.
7. Celebrate your creativity and resourcefulness with a glass of wine!